




WIRE HARNESS TAPES PROCESSING INSTRUCTIONS
Below you will find links to specific instructions related to the application of our tape products.
01
Storage
Storing recommendations
02
General
Handling do’s & don’ts
03
Wrapping
Winding & fixation
04
CUTTING & TEARING
Finishing the wrap
05
Application
By tape type
WIRE HARNESS TAPES · COROPLAST ADHESIVE TAPES
TAPE PROCESSING INSTRUCTIONS
Everything you need to select, handle and apply Coroplast wire-harness tapes — storage, general handling, wrapping, cutting & tearing, and product-specific application — gathered onto one page. Use the shortcuts above to jump straight to a section.
01 · STORING RECOMMENDATIONS
STORAGE
Correct storage protects adhesive performance and shelf life before a roll ever reaches the harness.
- ▸ Store boxes in an upright position
- ▸ Avoid storing in direct sunlight
- ▸ Keep the product dry
- ▸ Store at room temperature
- ▸ Use First-In-First-Out (FIFO) rotation
- ▸ Handle boxes and products with care

PHOTO: Warehouse / upright-stored boxes (storage PDF cover)
02 · GENERAL INSTRUCTIONS
GENERAL HANDLING
Clean surfaces and clean handling are the foundation of a reliable bond — observe these before any tape is applied.
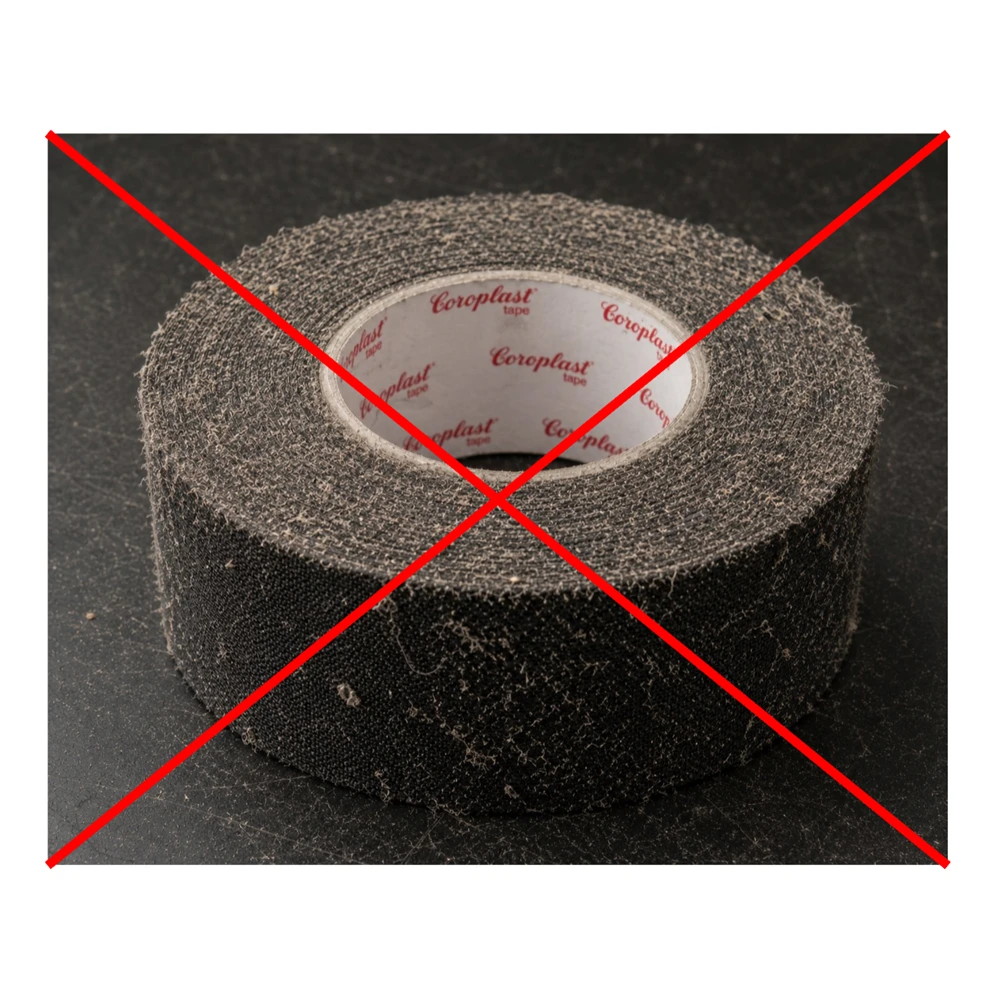
Ensure the substrate / tape backing is free of dust, grease and humidity.

Use talc, silicone sprays, release agents or hand creams during application.

Store cut tape parts — adhesive tapes should always be converted from the roll.
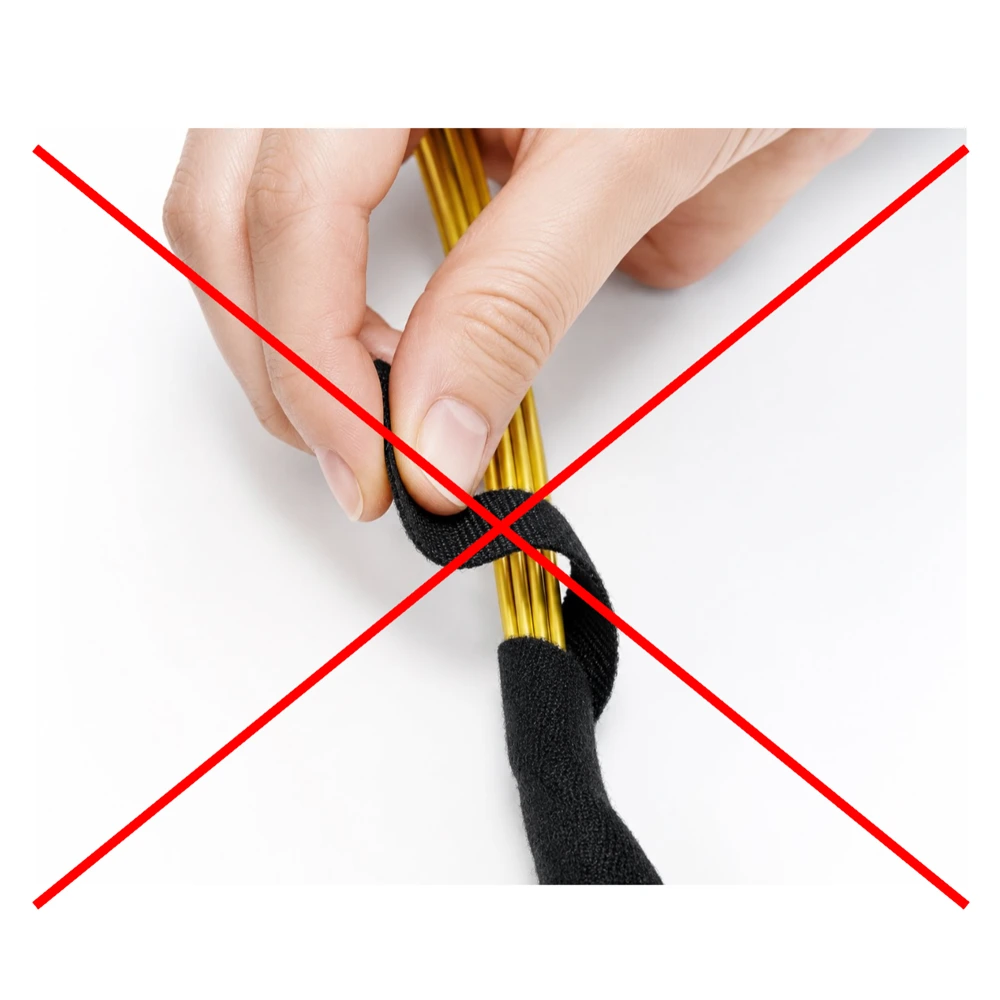
Touch tape ends with oily fingers.
03 · WRAPPING INSTRUCTIONS
WRAPPING
Wrapping cable harnesses and corrugated tubes — the direction, tension and fixation that guarantee a gapless, mechanically protective wrap.
Direction of Winding
- 1
Start wrapping the outer side-branches first.
- 2
Continue with side-branches closer to the main branch.
- 3
Wrap the main branch last, at the very end of the process.

PHOTO/DIAGRAM: Harness winding direction (outer branches → main branch)

Fix the tape with a short pressure, then apply a 50% overlap for a gapless bond and better mechanical protection.
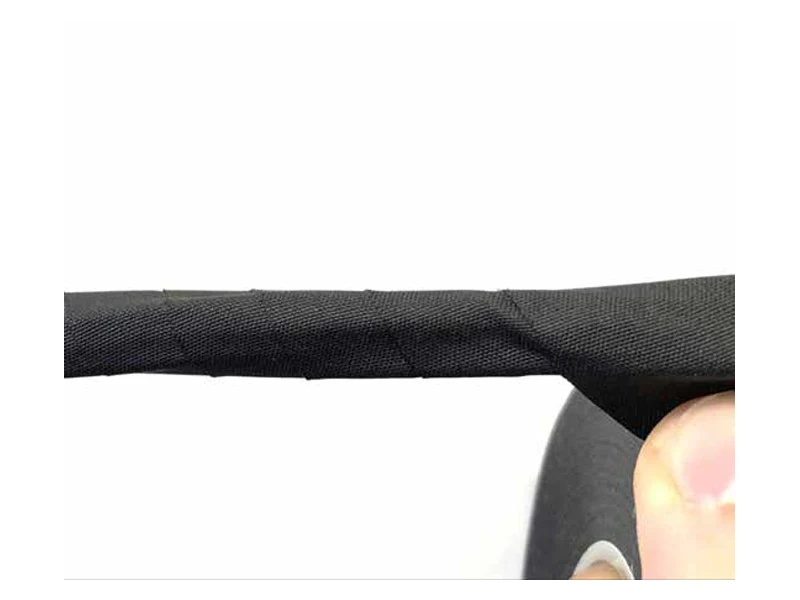
Keep the roll close to the harness with a constant, tight winding and a triple final layer.

Make a loose, “yo-yo” winding — it leaves gaps and weak protection.
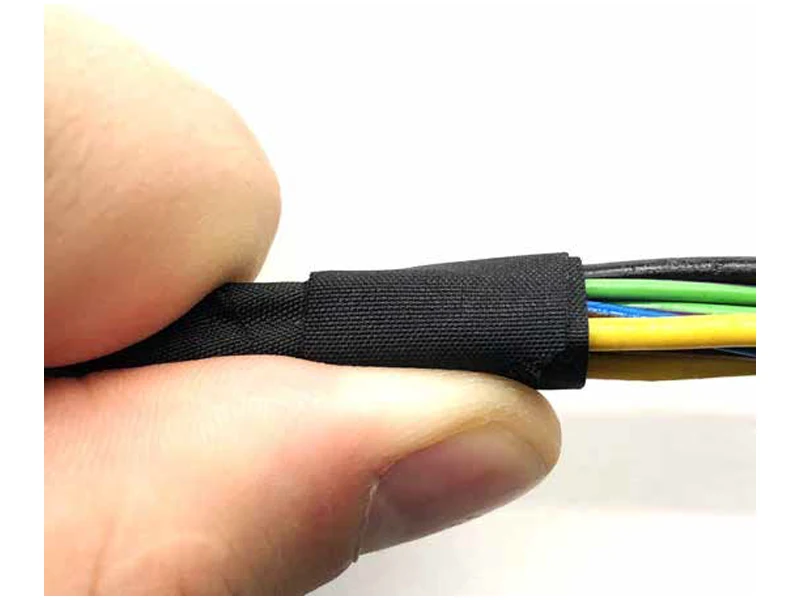
Tear or cut the final winding close to the harness, then fix the end with strong thumb pressure in the winding direction.

Stick the tape’s end diagonally on harnesses, corrugated tubes or sleeves.
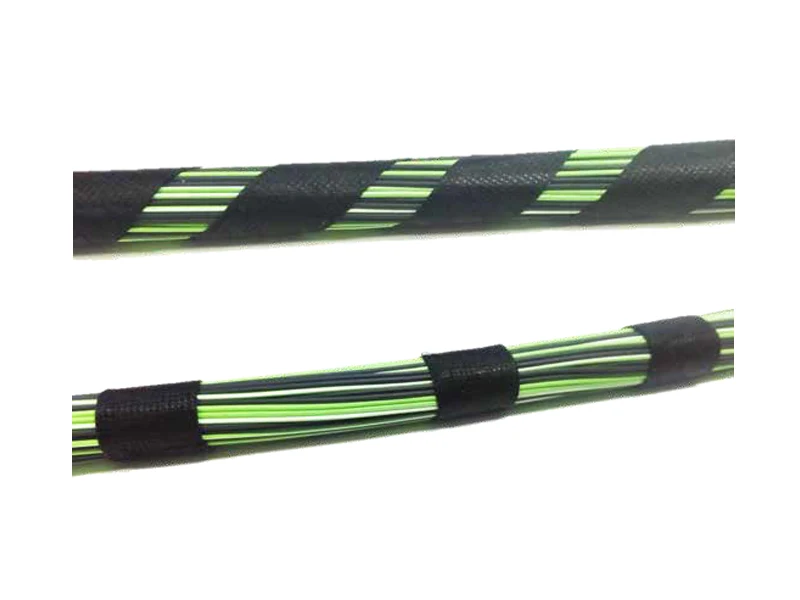
For candy wrapping, use a triple winding at the end plus thumb pressure. For spot bundling, apply a triple winding and final thumb pressure at every spot.
04 · CUTTING & TEARING RECOMMENDATIONS
CUTTING & TEARING
How to finish the wrap cleanly — recommended cutting and tearing techniques for cloth, non-woven and fleece tapes.
Recommended Cutting Process
- ✓ After the triple winding, cut the tape at an angle of 20°–45° and fix it with a short thumb pressure.
- ✓ If scissors can’t be used, use the Coroplast safety knife — cut under tension at a constant angle, varying the wingle angle if required.
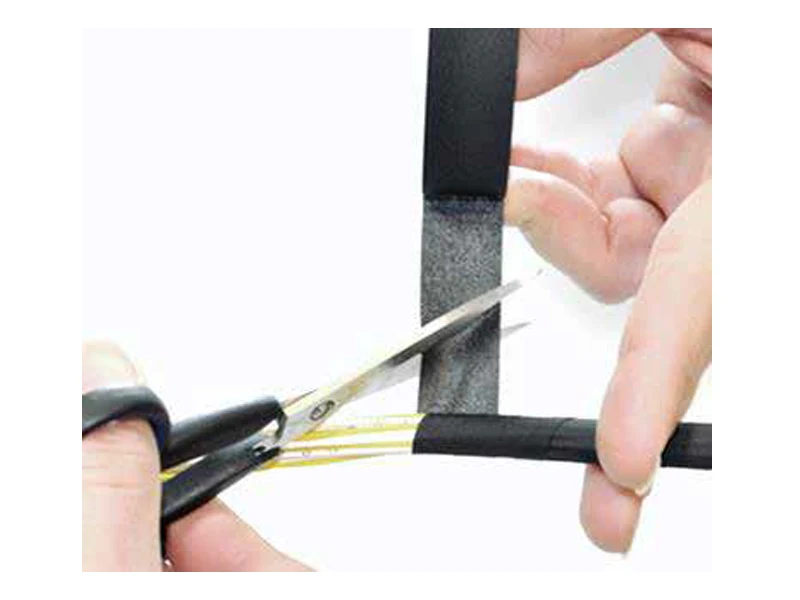
PHOTO: Cutting tape at 20°–45°

PHOTO: Coroplast safety knife
Recommended Tearing Process
- ✓ Tearing options depend on the tape: cross-direction for cloth, non-woven tapes or longitudinal, at the edge for fleece tapes.
- ✓ Use a triple winding at the end, tear off the last layer close to the harness, and fix the end with strong thumb pressure.
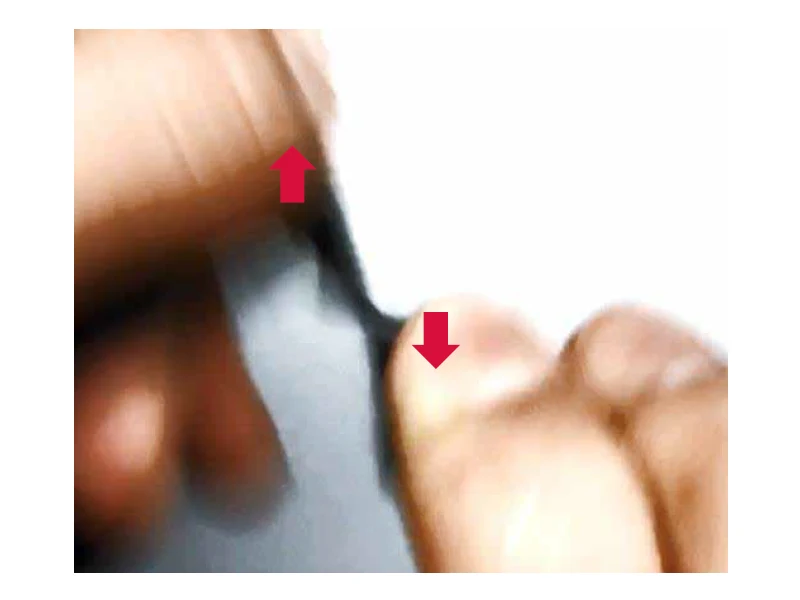
PHOTO: Cross-direction tearing

PHOTO: Tear last layer + thumb-pressure fixation
05 · SPECIFIC HANDLING INSTRUCTIONS
APPLICATION BY TAPE TYPE
Product-specific application guidance for the main Coroplast tape families. Techniques vary by construction — select the group that matches your tape.
Textile & laminate tapes thicker than 0.1mm — e.g. 8448 X · 8578/8588 · 8571 · 8572/8582 · 8575 X · 9579 X · 933 X · 934 X · 954 X. Exception: 880 / 860 X are excluded.
- ✓ Apply a single winding and fix the ends with a triple winding of an additional tape (e.g. Coroplast 837 X or 37).
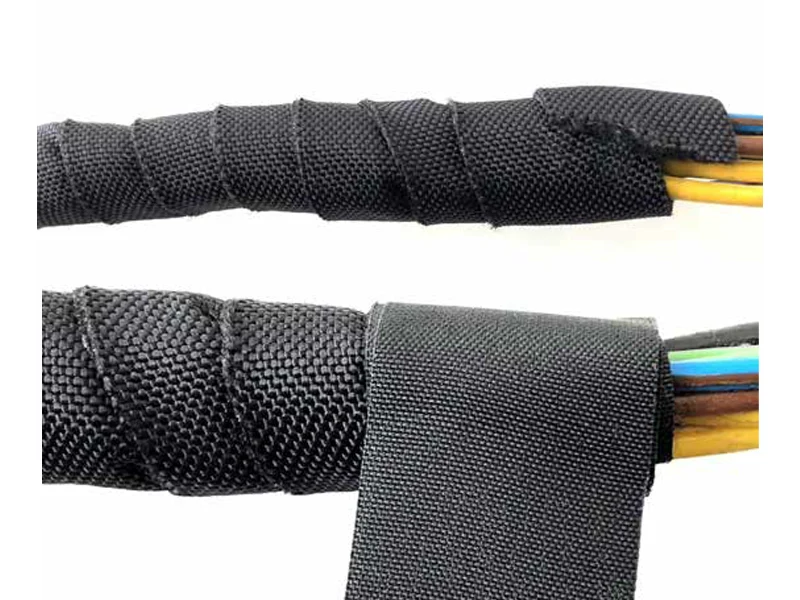
PHOTO: Thicker tape single winding + fixed ends

PHOTO: PP film tape on corrugated tube
Wrap close to the harness and finish with a tight final winding. Tear by holding & pulling close to the harness (or cross-tearing) — on corrugated tubes, wind through to the slit, secure in the slit, cross-wind to the outer strip. Fix a tension resistant winding.
Choose the version by wrapping direction: RT L for right-to-left, RT R for left-to-right. Fix from the rear with a 100% overlap at 45° angle (self-adhesive-to-adhesive ideally), keeping the last winding on adhesive on the outside, at 0° and out under tension.
- ✓ At V- and X-junctions, wrap the break-outs first and fixate the knot. Because the last layer leaves adhesive outside, cover it with a matching standard tape (e.g. Coroplast 8550 RT with 6550) in 19mm.

PHOTO: RT tape diagonal wrap / Y-junction

PHOTO: LT longitudinal tape hold-over application
Applied longitudinal, not spiral-wound. Press the first adhesive strip onto the harness tape close, then stick the inner adhesive strip onto the harness. Ensure the adhesive strip is fully covered and finish with strong thumb pressure the full length, starting at the corners.